
Wednesday, June 28, 2006
Surveillance Camera Effect
Wanna get your groove on the espionage thing? this effect will surely put your pictures to that mood...so lets get this started :D
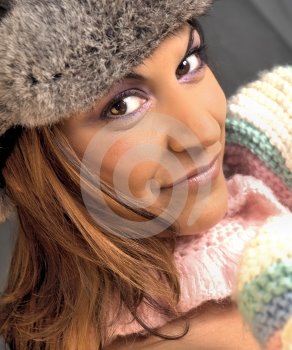
1. Open a photo of your choice. I choose this picture that I got in www.dreamstime.com

2. Dupicate the picture and set the blending mode to overlay.
3. Duplicate the top layer and with the top layer selected, add a hue/saturation layer ( you can find that at the new adjustment layer ) and follow these settings:
Hue: 0
Saturation: -100
Lightness: 0
4. Add the contrast/brightness layer ( also be found at the new adjustment layer) and follow these settings:
Brightness: +25
Contrast: +50
5. Add the photo filter layer ( can be found at the new adjustment layer ) and follow these settings ( this should be done at the top most layer):
Green : 45
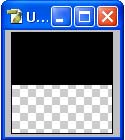
6. At this point, you need to create that horizontal lines. Creat a new template (100 x 100 ) and fill the half of it with black...so it should look like this:

8. Select the half filled portion of the template and go to edit>>define pattern and give the pattern a name...you decide :)
9. Go back to your picture and go to layer>>new fill layer>> pattern fill and use these settings:

10. After that, set the opacity to 27 %
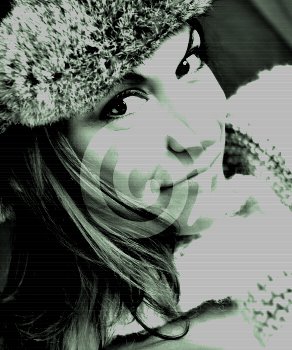
11. AND YOU ARE DONE :)...your photo will look something like this...
2 Comments:
1. Open a photo of your choice. I choose this picture that I got in www.dreamstime.com
2. Dupicate the picture and set the blending mode to overlay.
3. Duplicate the top layer and with the top layer selected, add a hue/saturation layer ( you can find that at the new adjustment layer ) and follow these settings:
Hue: 0
Saturation: -100
Lightness: 0
4. Add the contrast/brightness layer ( also be found at the new adjustment layer) and follow these settings:
Brightness: +25
Contrast: +50
5. Add the photo filter layer ( can be found at the new adjustment layer ) and follow these settings ( this should be done at the top most layer):
Green : 45
6. At this point, you need to create that horizontal lines. Creat a new template (100 x 100 ) and fill the half of it with black...so it should look like this:
8. Select the half filled portion of the template and go to edit>>define pattern and give the pattern a name...you decide :)
9. Go back to your picture and go to layer>>new fill layer>> pattern fill and use these settings:

10. After that, set the opacity to 27 %
11. AND YOU ARE DONE :)...your photo will look something like this...

![]()
